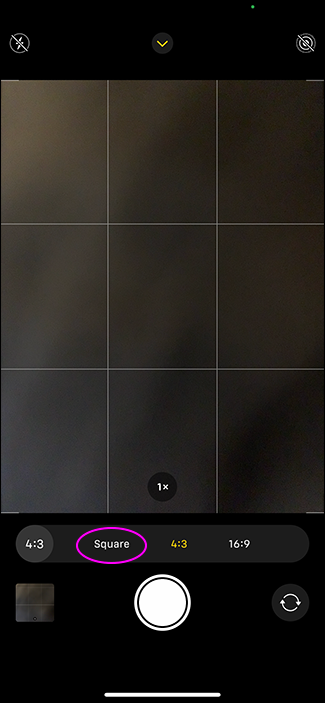
1. Choose Your Mode
Apple’s default camera app offers a variety of different modes for taking pictures, including panorama, square, and photo. I find that it helps to shoot in the mode you plan to publish. If I’m posting Instagram pictures, I’ll shoot in square mode rather than photo mode and cropping the image afterward. It frames your picture better, rather than trying cropping after.
2. Turn Off Your Flash
Recent generations of the iPhone flash are much improved upon their predecessors. The flash is still just an LED light that is not that powerful. The first issue when using a flash is that it can cause unwanted reflections in your shot. The flash can only be used beyond a few feet, otherwise, it will have poor results. lastly, the flash can cause a lens shadow at the bottom of your picture.
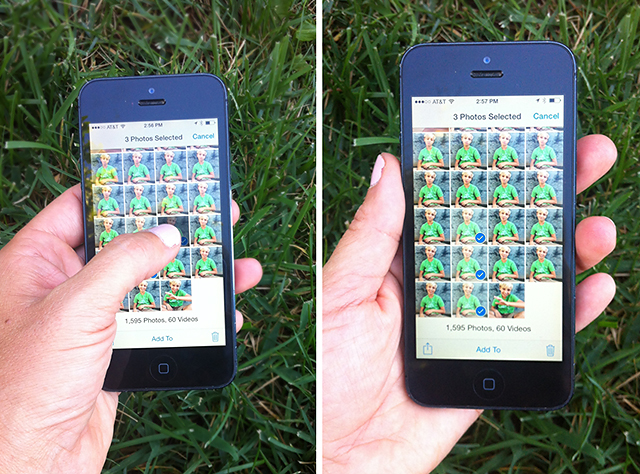
3. Burst Mode
Burst mode gets a lot of good pictures. I like to take burst pictures at my son’s baseball games or when they are playing with each other around the house. All I have to do is hold down the home button and it will take several pictures. You will see a counter appear at the bottom of the screen, letting you know how many shots you’ve snapped. To stop shooting, just lift your finger and the burst will be saved to your Camera Roll. When done I can sort through the pictures and keep the ones I like best.
4. Turn on HDR Auto
Your iPhone has a software feature called High Dynamic Range, or HDR. This lets you snap photos that may have high-contrast light sources (say, a bright sunset against a darkening mountain) and still capture a nice image without distorting either the light or the dark area of the picture. Your iPhone does this by snapping several pictures in quick succession at different exposures, then merging them to create a unified image.
You can manually turn HDR on or off from the Camera app, but I prefer iOS 8’s HDR Auto (available for the iPhone 5s and up) — it uses information from your iPhone’s sensor as you point your device at a subject to determine when an image might need HDR correction, and only then does it turn on HDR mode. (You’ll know HDR is enabled by the little yellow “HDR” box that appears at the bottom of the screen.) This can save extra storage space on your device and prevent you from shooting HDR unnecessarily.
5. Exposure Meter
If your picture is too dark or there is too much light, you can use this setting to adjust the lighting accordingly before you take the picture. Just tap on the focus square and slide the sun icon up to increase your exposure or slide it down to decrease your exposure.
6. Snap photos Using The Volume Button
Because the iPhone is so thin, tapping the digital shutter button can cause the camera to shake and blur the photo you’re trying to take. Instead, you can use the volume up button when in the Camera app to snap a photo — and avoid camera shake entirely. This helps when taking selfies!